The disk examination feature is designed to scan the physical integrity of the disks selected for this operation.
To examine disks:
-
Open Examining disks integrity dialog
- Click the Examine
 command in the action toolbar
 - Click command from main menu
- Click Disk Examine command from context menu
- Click the Examine
-
Observe examination process
In the Disk Explorer view, you will see the progress of the examination in the slot of the drive being operated on. The progress will be shown as a progress bar, seen below:
Figure: Disk examination progress
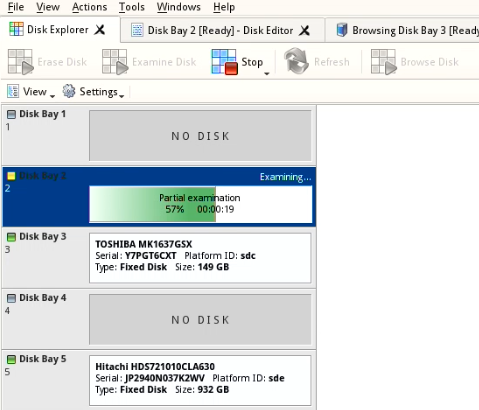
As seen in the image above, the green progress bar will fill the virtual drive slot in the KillDisk application. The percentage of the examination completed and the estimated completion time will also be shown in the slot. Once this process completes, the word "Examined" will flash in yellow in the slot space and the Erase procedure will begin.
When erasing completes you can review results for the processed disks.