Print test label by Zebra
Set up Active@ KillDisk for printing labels. For correct label printing, need to configure the relevant sections in Preferences.
To do this, proceed as follows:
-
Choose label template
Open the Disk label templates tab and choose the label template which actually corresponds to the label. If the drop-down list doesn't contain the required template, need to create new template.
Figure 1: Add new label template 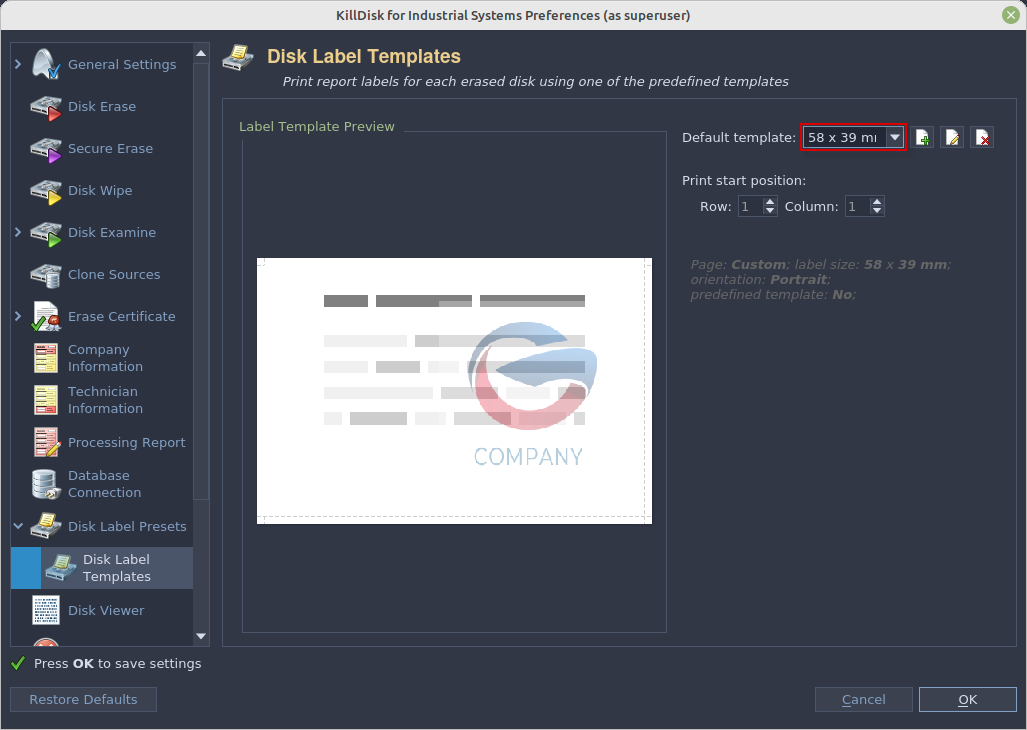
To create a new label preset, proceed as follows:
-
Set default printer
Select the printer for labels from the drop-down list.
Figure 2: Printer driver model 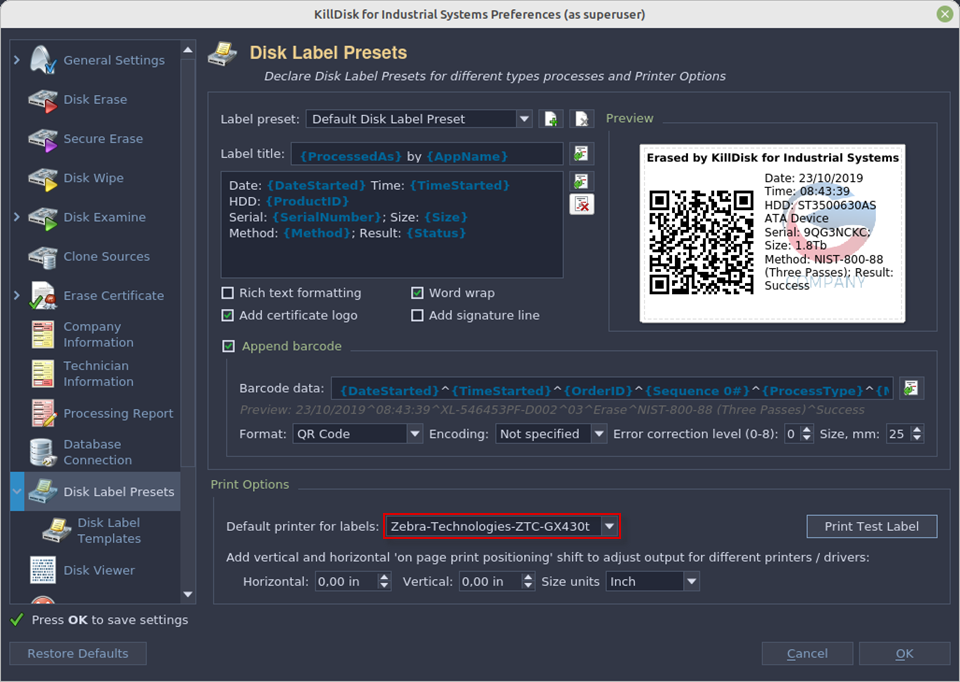
The printer and program are ready for label printing.