Disk Wipe
When you select a physical device, the Wipe command processes all logical drives consecutively, erasing data in unoccupied areas (free clusters and system areas) while leaving existing data intact. Unallocated space where no partitions exist is also erased.
If you want to erase ALL data (both existing and deleted files) from the device permanently, use Disk Erase.
If the Active@ KillDisk d application detects that a partition has been damaged, it does not wipe data in that area because the partition might contain important data. In some cases, partitions on a device cannot be wiped. Examples include an unknown or unsupported file system, a system volume, or an application startup disk. In these cases, the Wipe command is disabled. If you select a device and the Wipe button is disabled, select individual partitions (volumes) and wipe them separately.
Disk Wipe complete process is described below.
-
Execute task
Click Start button to reach the final step before wiping out deleted data. Click Yes to confirm Wipe action and process starts.
After starting the erase operation, a progress bar is displayed in the disk area. The progress bar represents the percentage of disk space being wiped. As the procedure progresses, the percentage increases and the time remaining is recalculated.
Figure 1: Disk Wipe Progress 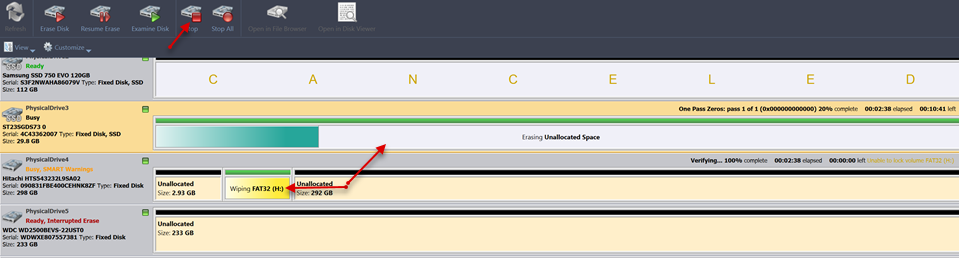
The progress of the wiping procedure is displayed on the disk or volume. To stop the process at any time, click the Stop button for the particular disk or volume. Click the Stop All button to cancel wiping for all disks.
A Processing Summary dialog appears when the process is complete. Here you can check the Processing Summary, print labels, certificates, and more.
Depending on settings, this dialog can be skipped.
If there are any errors, for example due to bad sectors, these errors will be reported and placed to the log file. If such a message appears you may cancel the operation or continue wiping out disks.
All deleted files and system records on wiped volumes became unrecoverable.